Bring Your Destillo Back to Life: A Guide to Refilling Your DI Cartridge
Your Destillo demineralisation system is a workhorse, providing the pure water essential for countless applications – from spotless car washes to critical laboratory rinsing. But like any hard worker, its capabilities aren't infinite. Over time, the ion exchange resin inside gets exhausted, and your trusty conductivity meter starts to climb, signaling that it’s time for a refresh.
Good news! You don't always need to buy a whole new cartridge or send it out for service. Refilling your Destillo stainless steel DI cartridge yourself is a straightforward process that can save you time and money. Here’s a step-by-step guide to get you back to sparkling, demineralised water.
What You'll Need:
-
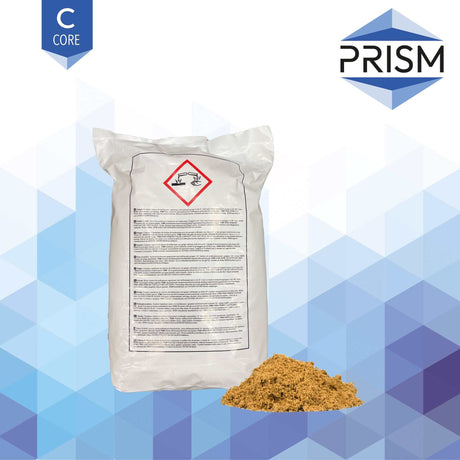
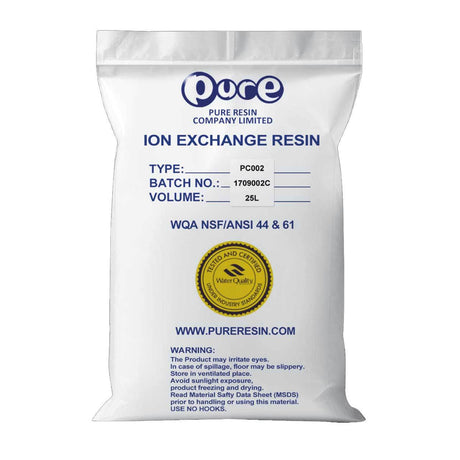
New Mixed-Bed DI Resin: This is the heart of your system. Ensure you have high-quality resin suitable for demineralisation.
-
A Large Bucket or Tray: Essential for catching spills and making cleanup easier.
-
Gloves and Eye Protection: Safety first! Resin beads can be slippery and irritating.
-
Funnel: To help guide the new resin into the cartridge.
-
Small Scoop or Cup: For handling the resin.
-
Masking Tape: To protect the internal riser tube.
-
Rubber Mallet (Optional): For packing the resin.
Step 1: Prepare Your Workspace & System
-
Drain the System: Before doing anything, turn off the water supply to your Destillo unit and open an outlet valve (like a spray nozzle) to depressurize the system. This prevents water from gushing out when you open the cartridge.
-
Safety First: Put on your gloves and eye protection.
-
Set Up Your Zone: Place the large bucket or tray under your Destillo cartridge. Trust us; these little resin beads have a mind of their own when spilled!
Step 2: Empty the Exhausted Resin
-
Remove the Cartridge: If your Destillo system has multiple cartridges, identify the one needing a refill and carefully unclip or unscrew it from the manifold.
-
Remove the Head: Unscrew the wing nut in the center of the head. You can now remove the head from the cylinder.

-
Extract the Riser Tube: Inside, you’ll see a central "riser tube" with a screened foot. Carefully pull this tube straight up and out.
-
Discard Old Resin: Invert the cartridge over your waste bin or designated bag and pour out all the old, exhausted resin. Give it a good shake to ensure it’s all out.
-
Rinse Thoroughly: Rinse the empty cartridge and the riser tube (especially its screens) with clean water to remove any lingering beads or debris.
Step 3: Refill with Fresh DI Resin
-
Protect the Riser: Place the riser tube back into the center of the stainless steel canister. Crucial: Cover the top of the tube with a piece of masking tape. If resin falls inside this tube, it will bypass the filtration process and end up in your downstream equipment.
-
The Pour: Using your funnel, begin pouring the new mixed-bed resin into the canister around the protected riser tube.
-
The "Anti-Channeling" Pack: Unlike large industrial tanks, Destillo canisters should not have a 20% air gap. To prevent water from "channeling" (bypassing the resin), you need a packed bed:
-
Fill the canister halfway, then tap the base firmly on the floor or use a rubber mallet to gently strike the sides. You will see the resin settle.
-
Continue filling and tapping until the resin is approximately 1–2 inches (2–5 cm) from the top.
-
-
Remove the Tape: Once filled, carefully remove the masking tape from the riser tube.
Step 4: Reassembly & Testing
-
Clean the Seals: This is the most common point of failure. Use a damp cloth to wipe every single resin bead off the threads and the O-ring seat. Even one tiny bead can prevent a watertight seal.
-
Seal the Head: Replace the head onto the canister and tighten the wing nut to hold the head firmly in position.
-
The First Flush: Reconnect the canister to your water line. Open the water supply slowly to allow air to bleed out of the system.
-
Rinse to Quality: Run the water to a drain for about 5–10 minutes. This clears out any "resin fines" (dust) and allows the beads to reach their full ion-exchange potential.
-
Check the Meter: Once the water runs clear, your conductivity meter should settle into the "Green" or "Low" zone.
Summary Pro-Tip:
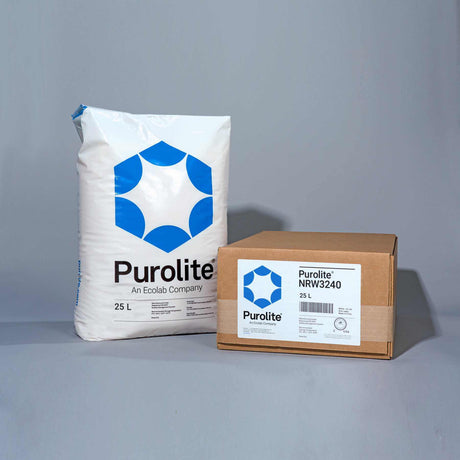
If you are aiming for the highest possible purity, consider using Nuclear Grade resin for your refill. While slightly more expensive, it ensures the lowest possible conductivity for sensitive laboratory or high-tech applications.
| Specification | D12E | D17E | D22E | D26E | D46E | D100E |
| Resin Volume (L) | 12 | 17 | 22 | 26 | 46 | 100 |
| Max Flow Rate (L/h) | 300 | 700 | 950 | 1,000 | 1,600 | 2,500 |
| Pressure Drop at Max Flow (bar) | 1.3 | 1.4 | 2 | 2 | 2.5 | 4 |
| Capacity at 10°dH (L) | 1,400 | 2,000 | 2,800 | 4,000 | 6,000 | 13,000 |
| Capacity (mol/z / Val) | 5 | 7.14 | 10 | 14.28 | 21.4 | 46.42 |
| Exhaustion Point (µS/cm) | 20 | |||||
| Connections (Inlet/Outlet) | R 3/4" | |||||
| Max Operating Temp (°C) | 30 | |||||
| Max Ambient Temp (°C) | 40 | |||||
| Max Operating Pressure (bar) | 10 | |||||
| Electrical Connection | 220/240V 50/60 Hz | |||||
| Diameter (mm) | 237 | 237 | 237 | 237 | 235 | 363 |
| Height (mm) | 590 | 670 | 785 | 885 | 1337 | 1207 |
| Weight (kg) | 13 | 17.5 | 23.5 | 28 | 47 | 104 |